Continued investigation, network packet capture, api reverse engineering and proof of concept
Continuing on from our previous investigation in part 1 of the Dsoon Wifi/BLE Trailcam..
After figuring out how to send a BLE command to the trailcam to enable “Wifi Mode”. Next thing to do, was to figure out the Android app communicate with the Trailcam and how the network communication works.
To accomplish this, I needed to get a network packet capture of the communication first.
The app of choice in this case was PCAPDroid.
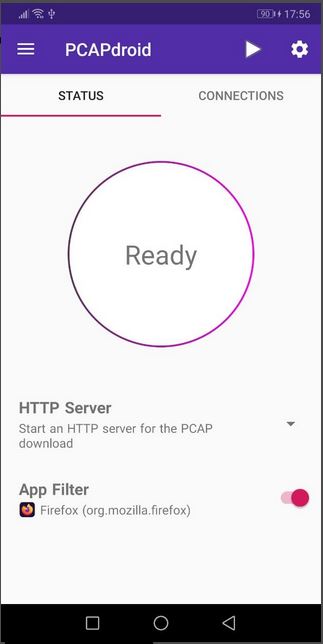
As described on the apps description:
“PCAPdroid is a privacy-friendly open source app which lets you track, analyze and block the connections made by the other apps in your device. It also allows you to export a PCAP dump of the traffic, extract metadata and much more!
PCAPdroid simulates a VPN in order to capture the network traffic without root. It does not use a remote VPN server. All the data is processed locally on the device.”
After installing the PCAPDroid app, and setting it up to capture the network traffic for the previously mentioned Dsoon Trailcam app, I proceeded to go through the trailcam’s app and tried to use every function possible to get a capture including all of the api data possible. Afterwards, I proceeded to download the pcap file and open it up in Wireshark.
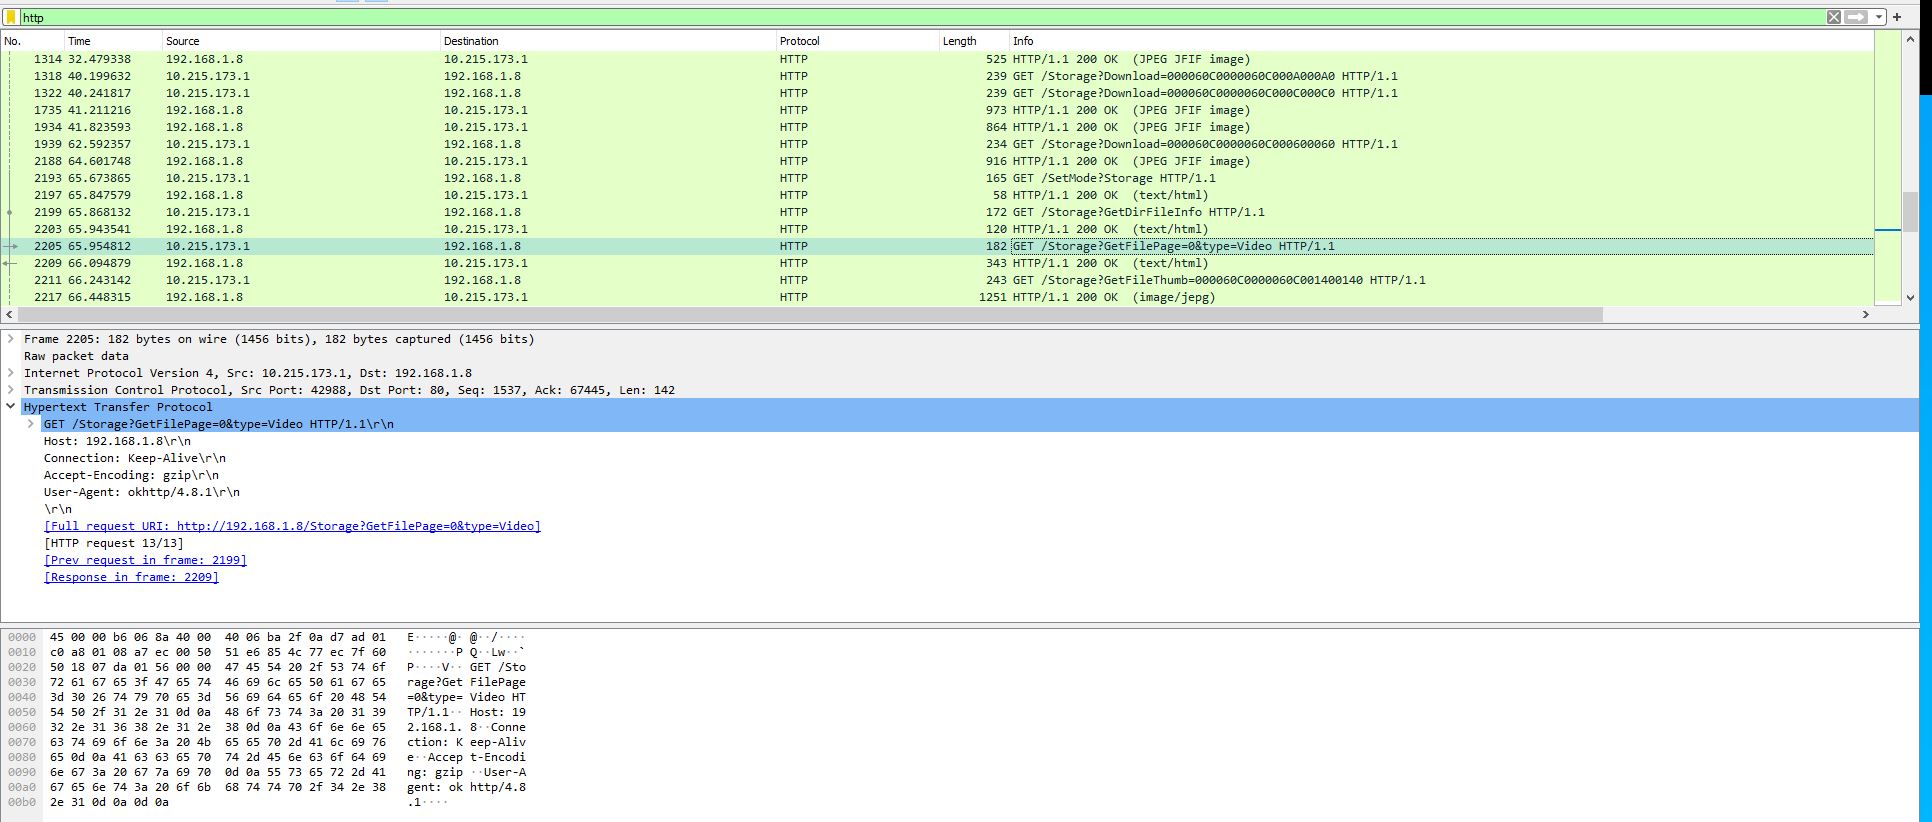
By filtering by “http” I was able to quickly get a list of all of the api requests along with the associated return data.
Next thing I did was go through this packet capture and do a “http request breakdown” document with each api request and the associated response data.
IE:
GET http://192.168.1.8/SetMode?Storage
-> OK
Data:
{  "Result" : 0  }

GET http://192.168.1.8/Storage?GetDirFileInfo
-> OK
Data:
{
"NumberOfDirs":1,
"NumberOfFiles":9,
"NumberOfJPG":6,
"NumberOfAVIS":3
}

GET http://192.168.1.8/Storage?GetFilePage=0&type=Photo
-> OK
Data:
{"number_of_files":6,"page":0,"fs":[{"n":"DSCF0001.JPG","t":1,"s":535405,"dt":1451168227,"fid":"000060C0000060C000400040"},{"n":"DSCF0002.JPG","t":1,"s":554528,"dt":1451168227,"fid":"000060C0000060C000600060"},{"n":"DSCF0004.JPG","t":1,"s":621909,"dt":1451168236,"fid":"000060C0000060C000A000A0"},{"n":"DSCF0005.JPG","t":1,"s":624228,"dt":1451168236,"fid":"000060C0000060C000C000C0"},{"n":"DSCF0007.JPG","t":1,"s":508852,"dt":1451296996,"fid":"000060C0000060C001000100"},{"n":"DSCF0008.JPG","t":1,"s":508877,"dt":1451296996,"fid":"000060C0000060C001200120"}]}
Jpeg file thumbnail requests notes:
User-Agent: Dalvik/2.1.0 (Linux; U; Android 7.1.1; SM-T350 Build/NMF26X)

GET http://192.168.1.8/Storage?GetFileThumb=000060C0000060C001000100
-> OK
Data:
JPEG FILE

GET http://192.168.1.8/Storage?GetFileThumb=000060C0000060C001200120
-> OK
Data:
JPEG FILE

GET http://192.168.1.8/Storage?Download=000060C0000060C000800080
-> OK
Data:
VIDEO/X-MSVIDEO File

GET http://192.168.1.8/Storage?Delete=000060C0000060C000E000E0
-> OK

Live Video Feed
GET http://192.168.1.8/SetMode?PhotoCapture
-> OK

GET http://192.168.1.8:8221/

Power off
GET http://192.168.1.8/Misc?PowerOff
-> OK
After going through an breaking down each unique api call / return data, I proceeded to make short summary document of all of the steps to enable wifi and use the api to perform different functions along with the details of the params.
1. To enable wifi, you need to send a command over bluetooth:
	Service:
		UUID: 0xFF00
		Characteristic:
			0xFF01
			Value:
				Hex: 42-54-5F-4B-65-79-5F-4f-6E
				ACII: "BT_Key_On"

2. Connect to Wifi Network "Trail Cam Pro ****"
	Default Password: "12345678"

3. Summary of Wifi uri requests for DSOON Trail Cam Pro:
	Go into setup mode:
		GET http://192.168.1.8/SetMode?Setup

	Get Menu Options:
		GET http://192.168.1.8/Setup?GetMenuJson

	Go into "storage" mode:
		GET http://192.168.1.8/SetMode?Storage

	Get Directory File Info: (Summary # of available: Dirs, Files, JPEG Images, AVI Video Files)
		GET http://192.168.1.8/Storage?GetDirFileInfo

	Get File Page Data: (Detailed breakdown of: number of matching files for type, individual file breakdowns in nested list with file names: 'n', type: 't', size: 's', date/time: 'dt', file id: 'fid')
		GET http://192.168.1.8/Storage?GetFilePage=%page #=""%&type=%type%
			PAGE #: 0 delimited number
			TYPES: "Photo", "Video"

	Download File Thumbnail Image:
		GET http://192.168.1.8/Storage?GetFileThumb=%file id=""%
			FILE ID: matching 'fid' from file page data

	Download File:
		GET http://192.168.1.8/Storage?Download=%file id=""%
			FILE ID: matching 'fid' from file page data

	Delete File:
		GET http://192.168.1.8/Storage?Delete=%file id=""%
			FILE ID: matching 'fid' from file page data

	Enable Live Video Feed: (Live feed is available at http://192.168.1.8:8221/)
		GET http://192.168.1.8/SetMode?PhotoCapture

	Turn off WIFI
		GET http://192.168.1.8/Misc?PowerOff
By doing this, it helped me to map out functions and workout the next steps to trying to perform the tasks programmatically.
Finally, came the time to take the information gathered above and use it to interface with the Trailcam programmatically with using other devices.
For the first proof of concept of wanted to see if it would be possible to do so with the lowest cost solution I could find. Having a few ESP-32 wifi/bluetooth capable microcontrollers around, I figured why not give it a try.
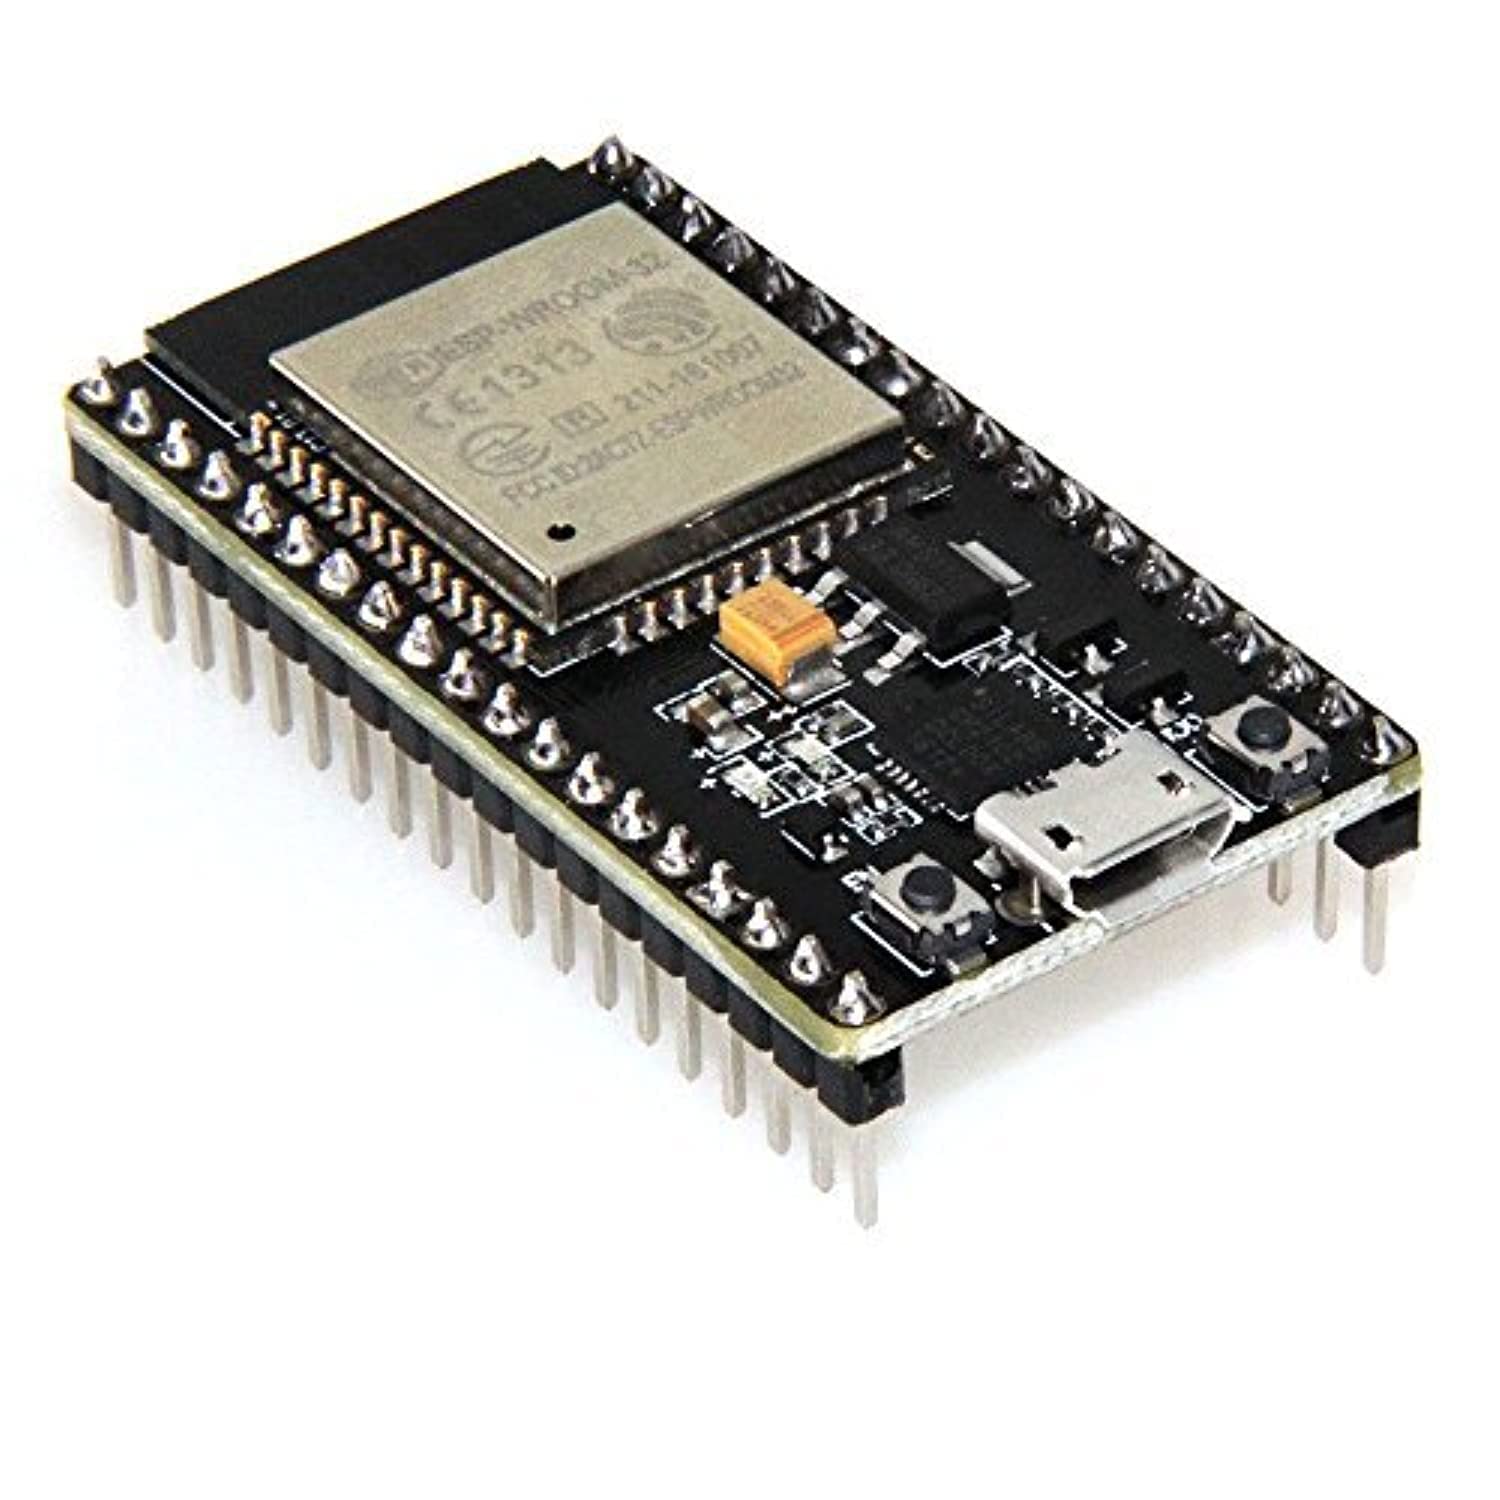
I opened up the Arduino IDE and got to work. I started with the examples provided with the esp libraries and familiarized myself with how things worked and then broke the project into parts solving each step at a time to getting the files off of the camera.
After about a week of testing / iterating on each of the separate steps I managed to get a piece of code that could scan for the Trailcam’s Bluetooth device, connect to the Trailcam using BLE, remotely trigger “wifi” mode, scan wifi networks, find the Trailcam’s AP, connect and interact with the api, and disable the “wifi” mode when done, all while printing the debug info to the serial port.
Some of the limitations I ran into along the way:
- The bluetooth and wifi scanning/connection needed to have additional error handling and retry logic to function reliably.
- Using all of the libraries required was too large for the default partitioning scheme so I had to modify the settings in Arduino IDE to use partitioning scheme: “Huge APP (3MB No OTA/1MB SPIFFS)” in order to successfully build/upload the code to the ESP-32 mcu.
- Since the files are relatively large, I would need to use an sd card module to actually do anything useful with the files.
- Having only 1 network interface makes this impractical if I wanted to use it as true “bridge” device, they do make ESP-32 dev boards with a secondary Ethernet interface, but I am not sure if its practical with an sd card module.
Given all of the above limitations and the cost perspective, I came to the conclusion it may not make sense to try to engineer a bridge device using the ESP-32, so I just opted to stick with a basic proof of concept. The code is available up on my github here which pulls the a list of all of the file names / file ids from the trailcam and prints them out over serial.
Maybe It might be worth revisiting at some point, but I think a better solution may be a small single board computer or router. This extra power will allow us to extend the functionality of our final solution quite a bit.
In my next post on this investigation, I will go over how I solved this problem with a cost effective solution without a Raspberry Pi (given their current ridiculous markup), extended the functionality further and what I plan to do in the future to round out a solution.